Convert captured video to WMV format
Open Microsoft Expression Encoder 4, already pre-loaded on your Xcam SLS tablet.
- To find all your apps, go to the Start screen and swipe in an upward direction and below you will find the full list of applications. Alternatively you may use the search box at the top right to find “expression”.
![]()
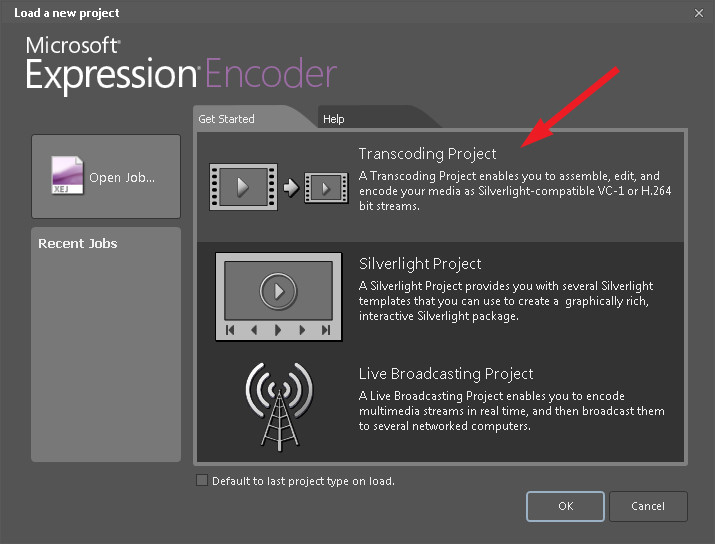
Select Transcoding Project from the Load a new project screen.
Import your Captured Video
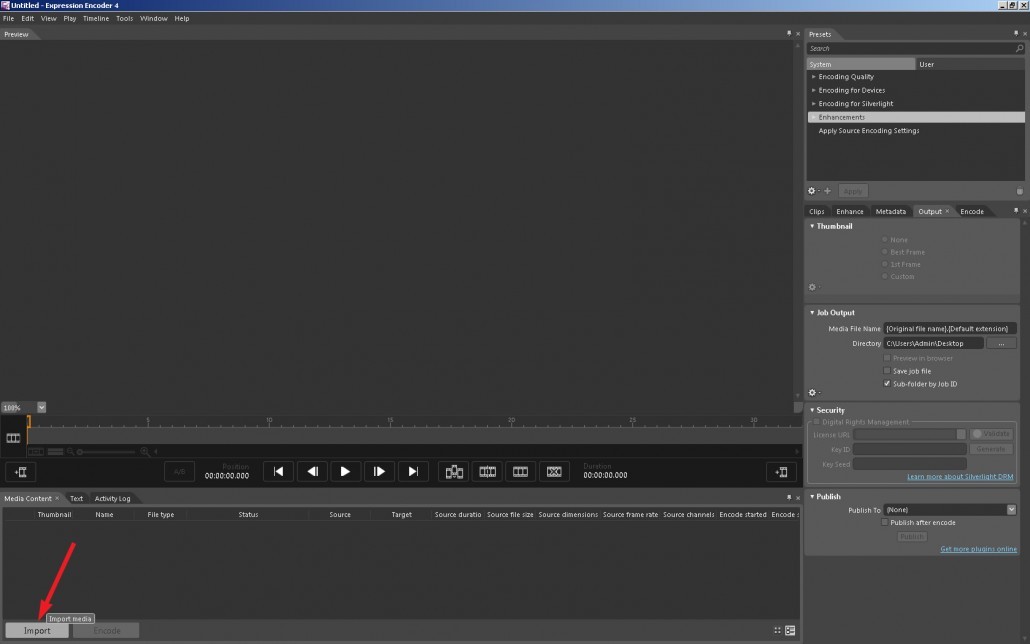
Click Import Button at the left hand corner of the screen.
Select the Xcam SLS video you want to encode in the Import Media Files menu.
It may take a few moments for Expression Encoder to Analyze larger videos.
Settings for Output
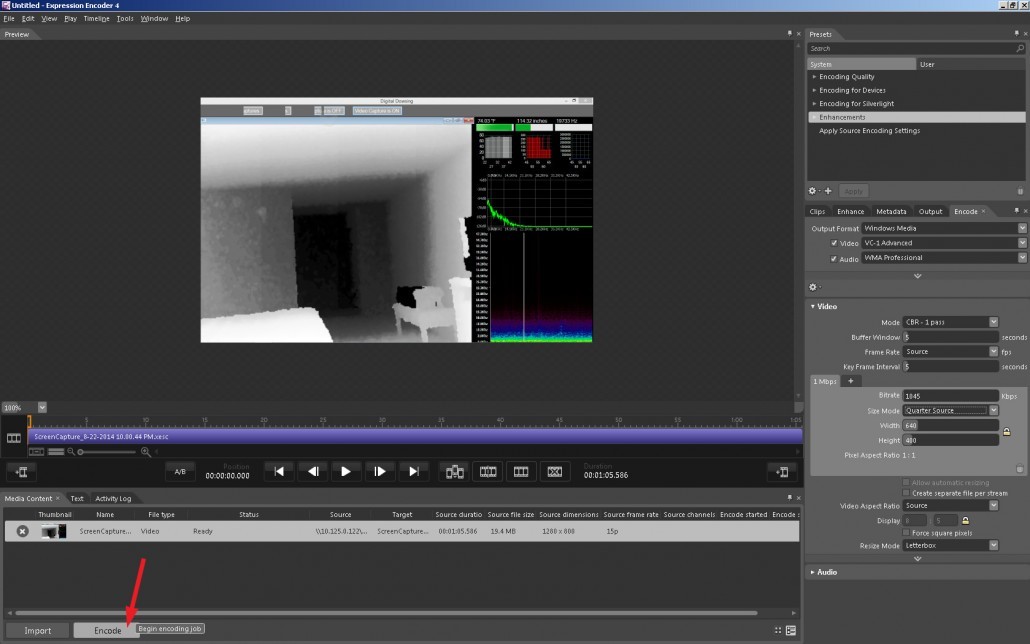
Once the video loads and the Status is ready it’s time to select your Encoding options.
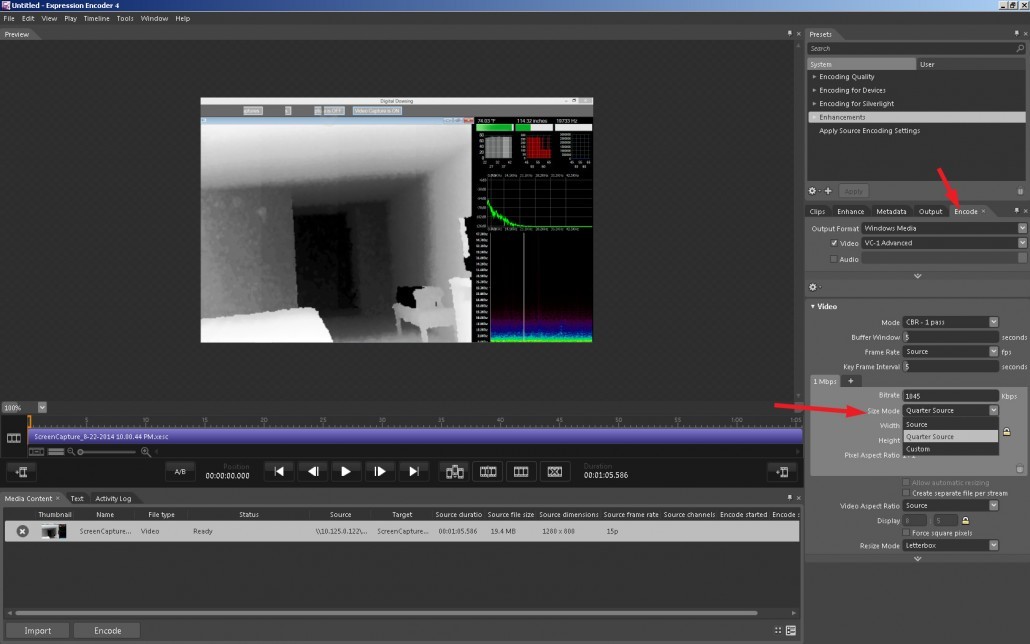
- On the right side, click the Encode tab. It will show Output Format as Windows Media.
- Click Video submenu below to access more settings. Now you can change settings like the size of the WMV you want to output.
- As you change settings the preview will reflect your options.
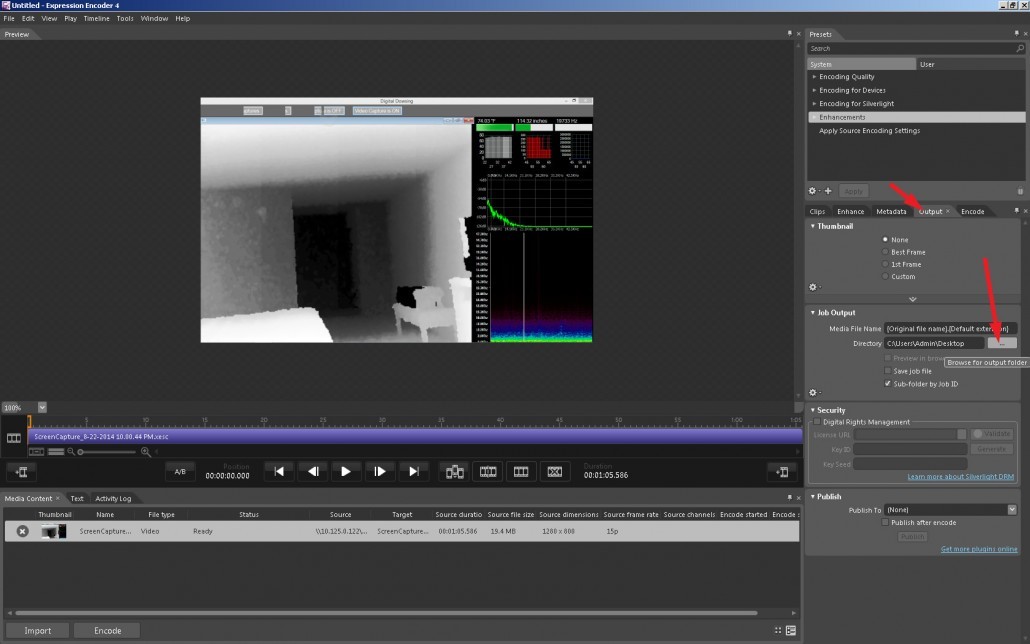
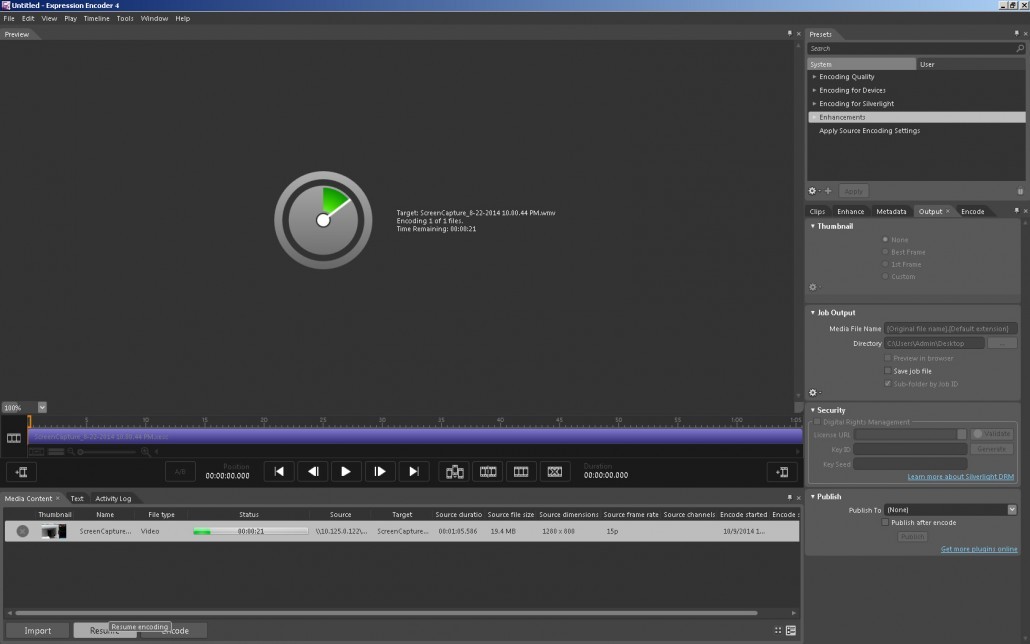
Now select the Output Tab so you will know where your video will be saved.
Under Job Output you can change the Directory to one of your choosing.
In Media File Name you can change the name of the new WMV by replacing {Original file name} with the name of your choosing. Do not change .{Default extension} for best results.
Output a WMV File
ENCODE!
Click the Encode button in the bottom left corner to output your video file to a WMV!
Expression Encoder will begin to encode your file into a WMV. Be patient on longer files.
And you’re done!
Your WMV should be in folder you selected in the Output Stage. (The WMV may be in a sub-folder within that folder if you have the default option Sub-Folder by Job ID set)
Playing WMV on a Mac
Telestream’s Flip Player will allow Mac users to view WMV file format for free.

