Charging Your Device:
Please use the included USB to USB-Mini cable and a spare charger / computer USB port to charge your unit.
IMPORTANT Charging Tip!
To charge your device you MUST have the power switch in the ON position. Otherwise the unit will be powered by the USB cable but it will not charge the battery. During charging the battery icon at the top left of the screen will alternate between a charging battery and the estimated current battery level.
Charging is complete when the charge light at the top of unit is no longer illuminated, additionally, the charging icon will no longer appear on the screen.
To reduce charge times we recommend a 1AMP (1000MaH). Please note that charge times will be extended if charged through a standard USB port of a computer. Charge times will vary from 1-10 hrs or longer if using less than a 1AMP charger. Run times will range from 12 to 20hrs. To extend battery life turn off Wi-Fi/BT when not in use (not applicable to the Ovilus 5B).
Sleep Mode:
Sleep mode turns off the screen to reduce battery consumption. By default sleep mode is enabled for charging. To wake from sleep simply tap the screen.
Wireless Connectivity – (NOT APPLICABLE TO THE OVILUS 5B)
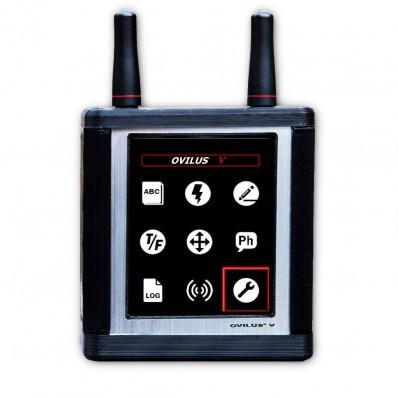
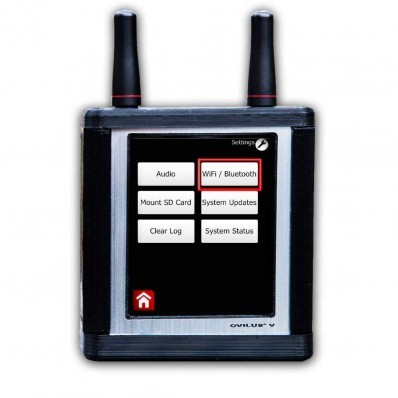
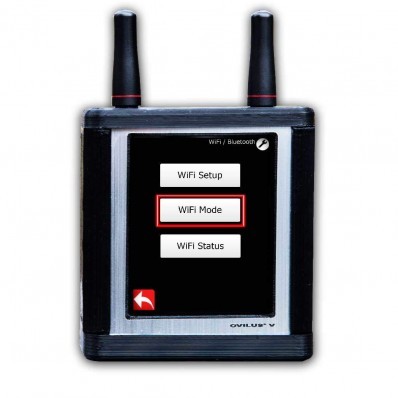
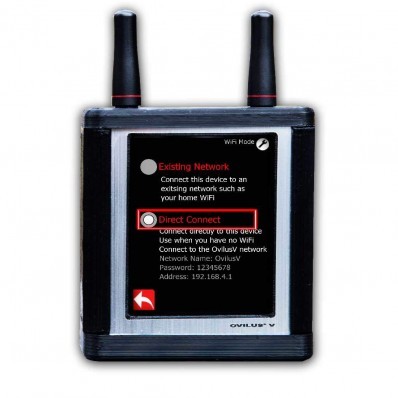
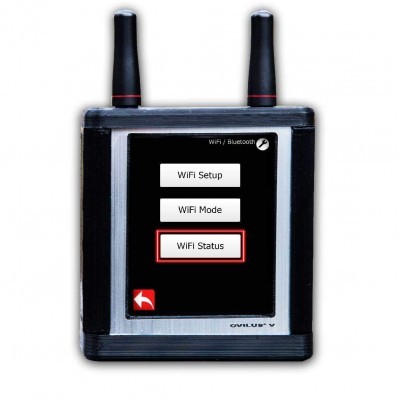
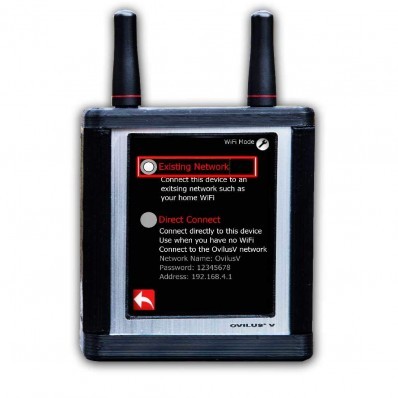
The Ovilus V has two modes of operation for Wi-Fi. The mode is “Existing Network” mode which the Ovilus may be configured to connect to your home network. The next mode is termed as “Direct Connect” mode this is also known as a WiFi Hotspot which you may use your phone or other WiFi capable device to connect directly to the Ovilus.
Direct Connect (AKA WiFi Hotspot)
When the Ovilus 5 is set to Direct Connect mode it will act as a WiFi hotspot for other devices (such as your phone) to connect to. After the hotspot is turned on you can point your phone (or other internet enabled device) to the Ovilus V WiFi network.
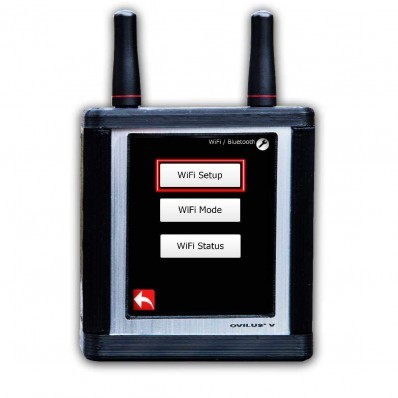
Setup
At this point you can go to your phone or other internet enabled device and turn on WiFi.
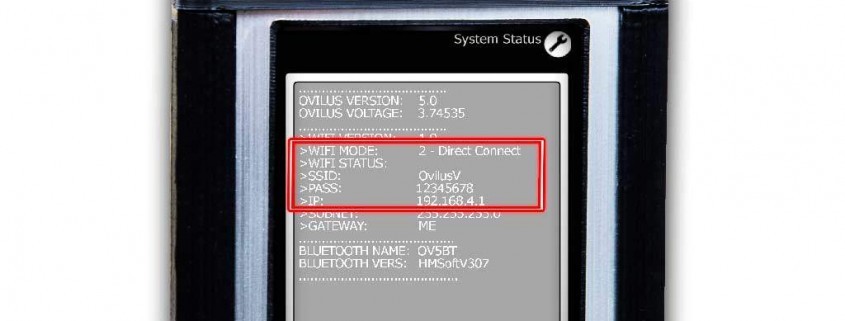
Locate OvilusV in the list of available WiFi networks and connect using the password 12345678
Now go to your internet web browser and type in this address: http://192.168.4.1
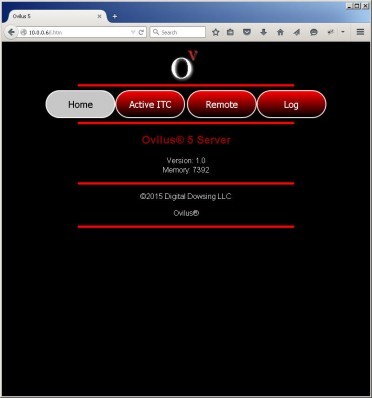
Your browser should have navigated to http://192.168.4.1/ and it display the Ovilus V’s webpage.
Existing Network
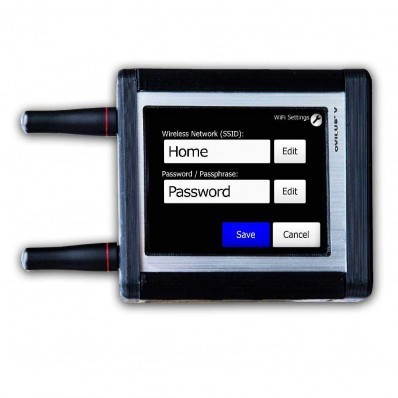
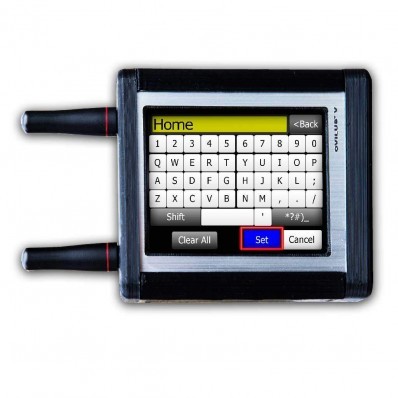
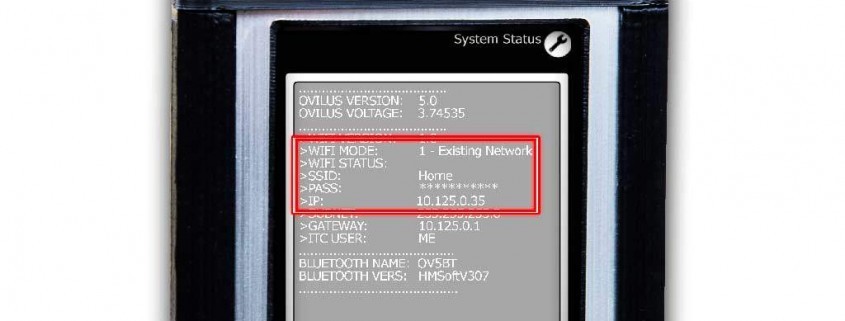
Setting the Ovilus V to the Existing Network option will enable connecting the Ovilus V to a WiFi network such as your home. After the Ovilus is connected to your network any of the devices on that WiFi network will be able to connect to the Ovilus by going to web address specified on the status screen.
Setup
Next open up a web browser on one of the computers or other internet devices that is also connected the same network.
Change the web address to the IP address listed on your status screen. In our example above this would be http://10.125.0.35

Your browser should have navigated to the Ovilus V’s webpage.

